
We recently launched Expo, a virtual reality distribution platform that makes exhibiting 360 videos a breeze. It’s well-received by anyone needing to create a VR cinema experience for large groups of people, either at a venue or completely online.
In this post, we are going to cover:
- What is Cinema mode
- Cinema Remote tablet app
- How can you use Cinema mode
- How to setup a synchronized VR Cinema
Introducing Cinema Mode
It’s no easy feat to guarantee the best cinema experience for everyone. How does one control multiple headsets without disrupting the audience’s flow? Even if the operators do everything perfectly, what if one audience member accidentally presses something or exit the app altogether? Expo’s Cinema mode tackles exactly that - guaranteeing a seamless VR experience for all audience members.
When your audience straps on a VR headset, they are greeted with a very simple welcome screen in the VR waiting room.
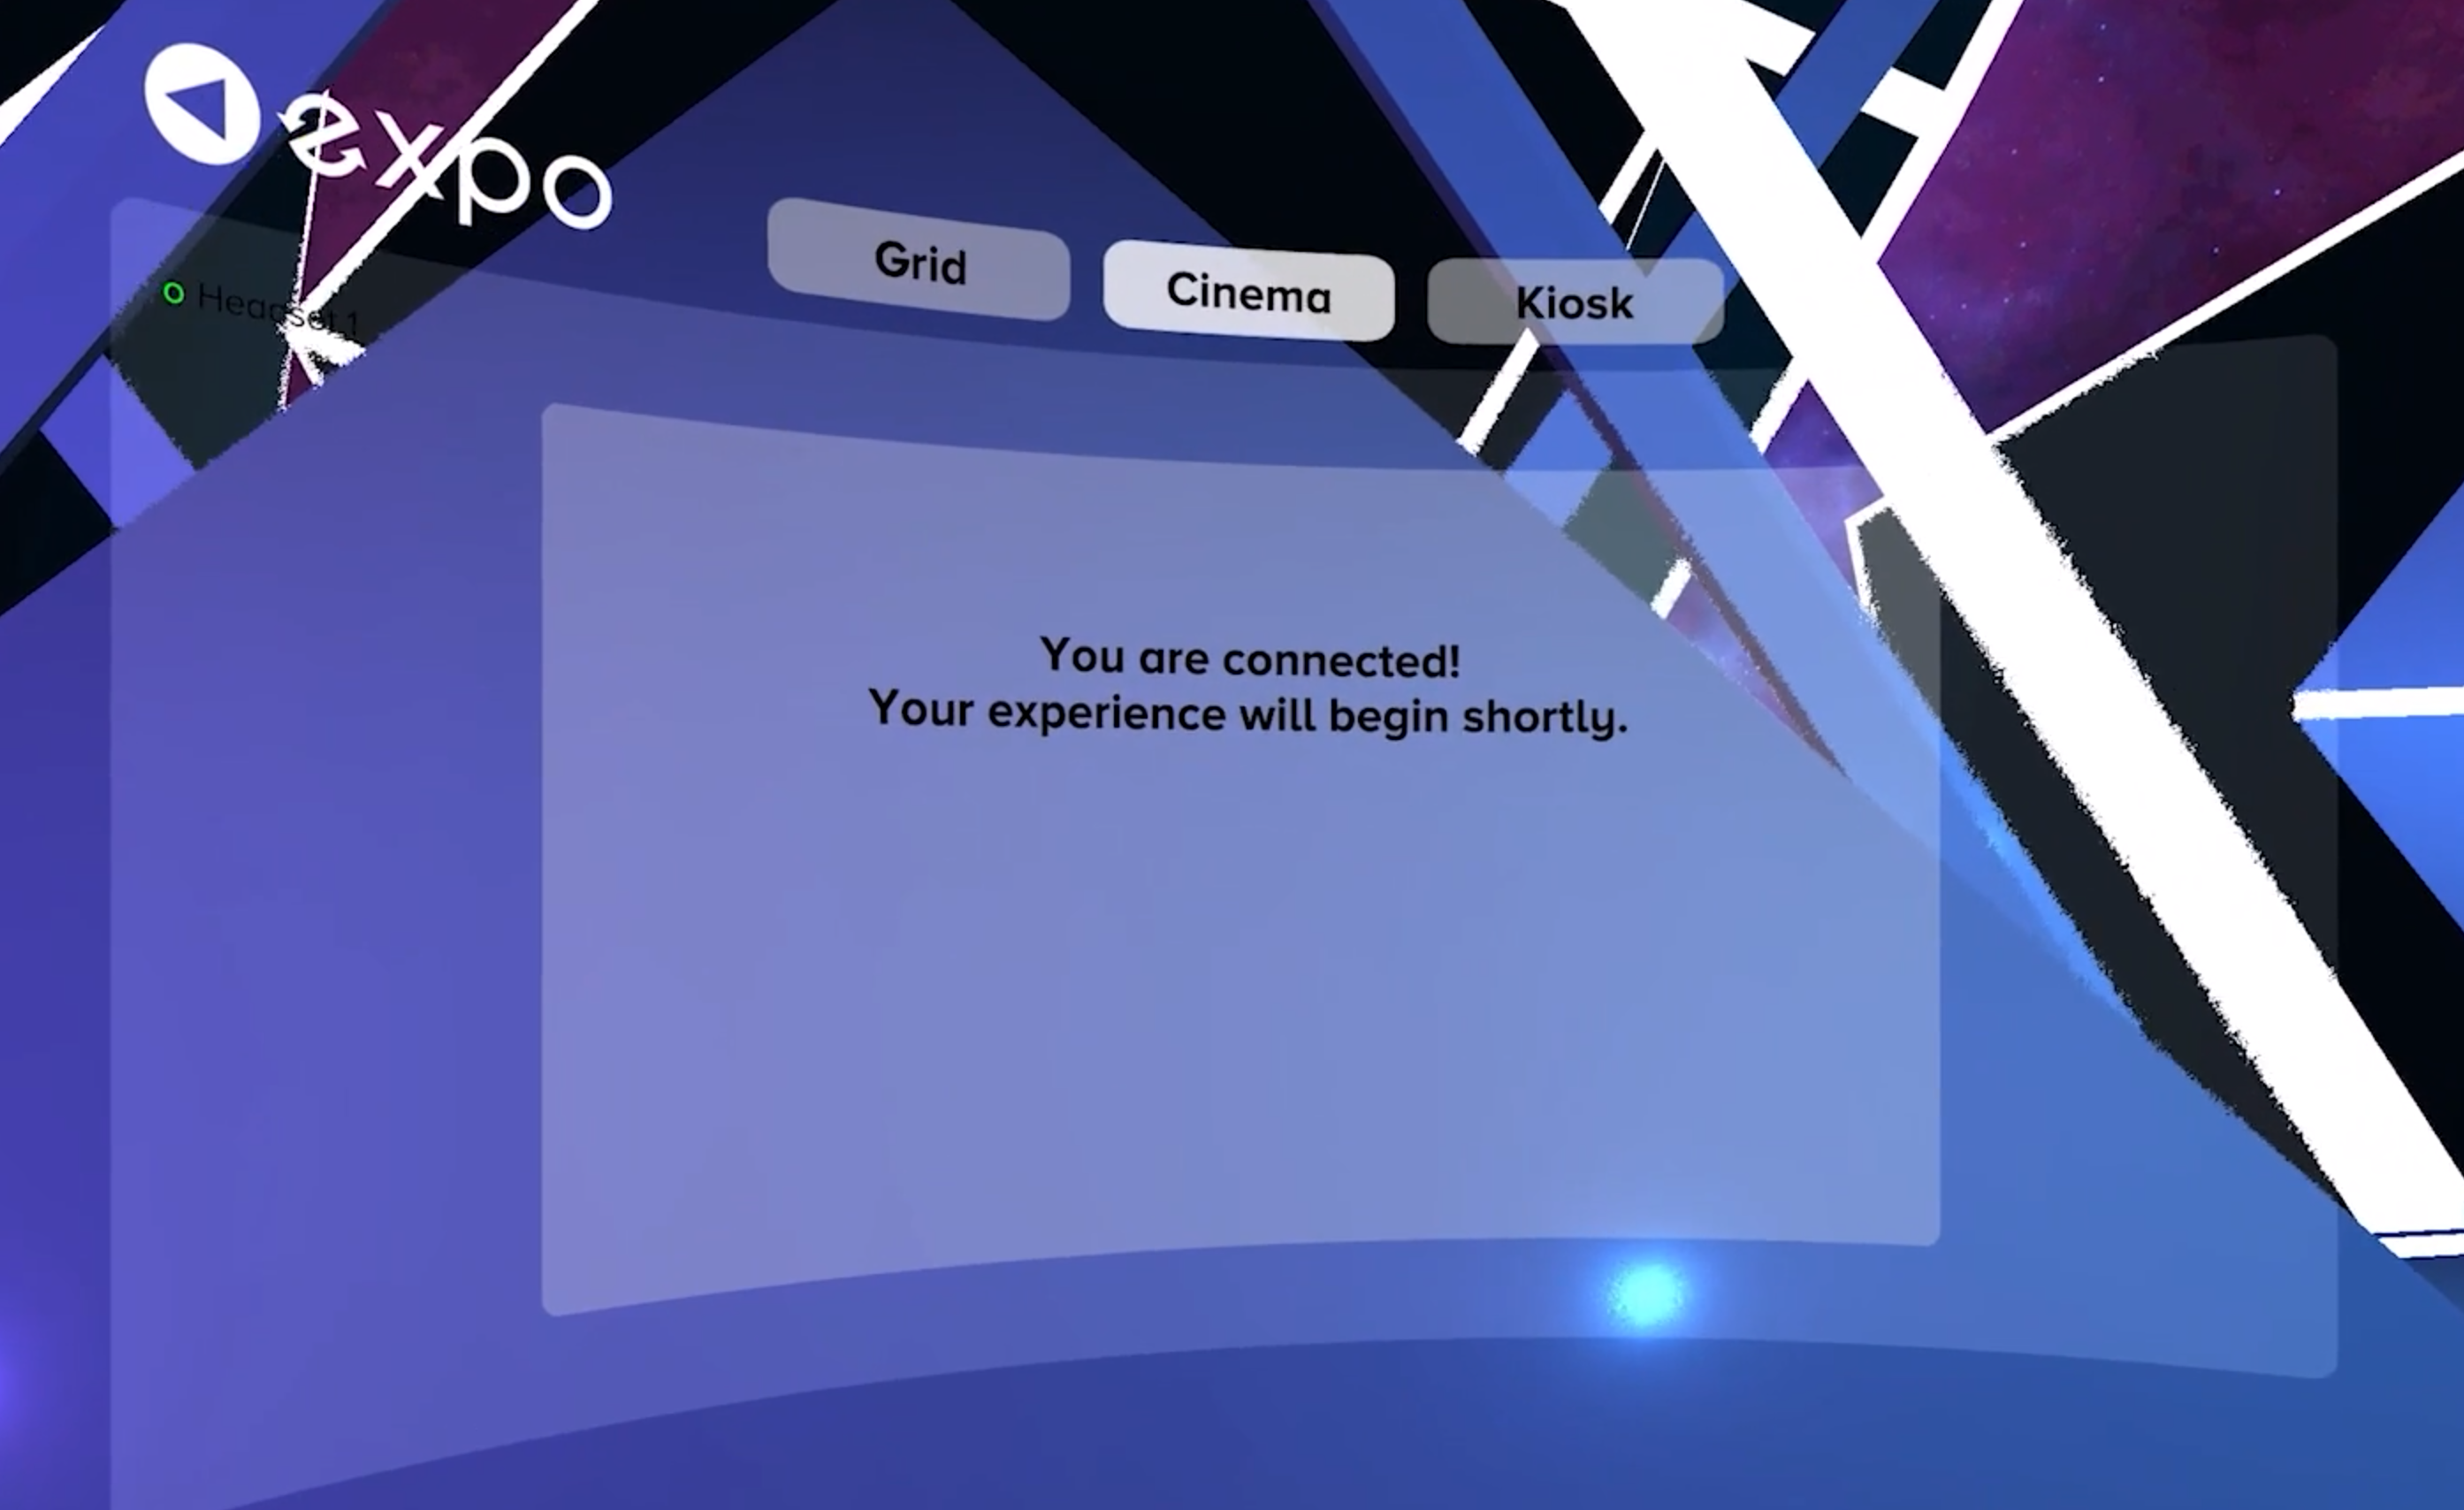
NOTE: you can completely customize this waiting room by uploading any 360 image to replace the default waiting room.
Cinema Remote App
The Expo Cinema Remote app is the all-in-one controller for all VR headsets that are logged in with the same account. This iPad and Android tablet app makes it extremely easy to prepare, manage, and control all of your headsets.
- Download VR content to multiple headsets at the same time
- synchronize all connected headsets to play 360 video on all connected devices at once.
- See what your audience sees in the device preview windows
- Monitor each individual headset's information like battery status, temperature, and more

How Can Cinema Mode Be Used?
Can’t imagine setting up and running a VR cinema as an easy task? With Cinema mode and the Cinema Remote app, any operator can fully control and synchronize all connected headsets from a distance. Start all viewers’ experience with a single click from a tablet. And once the experience starts, the headset remote input is completely disabled, eliminating any possible user errors.
This means showcasing VR to young children at a school, or adults at a trade show, or a wild card of people at festivals with the assurance of a guaranteed experience.
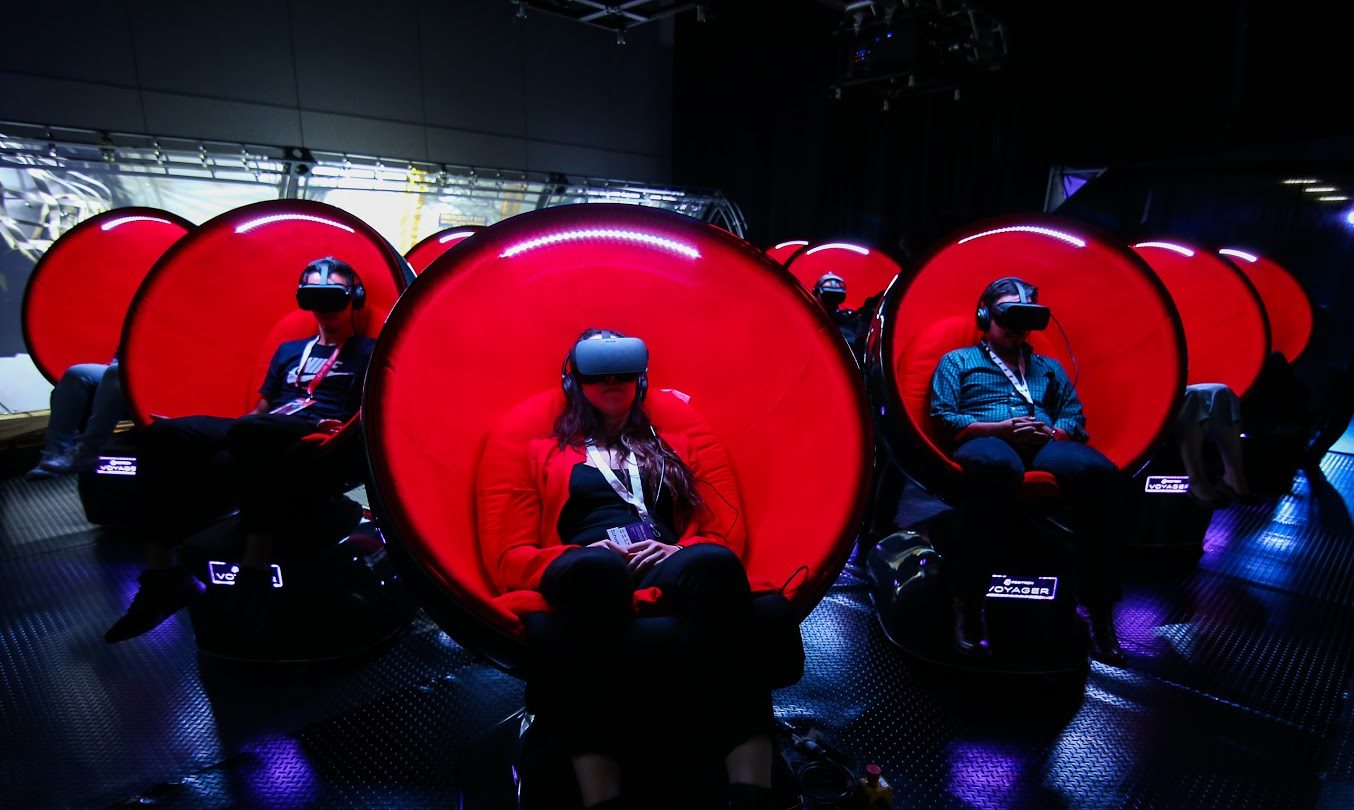
VR Film Screenings
The key characteristic of a film screening is that everyone is watching the same thing at the same time. The viewers share a communal experience. Although VR headsets are personalized, the experience itself doesn’t need to be isolating. With Cinema Mode, sync up all the headsets for a room full of people or across the world, and they can share moments of the film together, whether it’s a laugh, a jump scare or shedding tears for the characters.
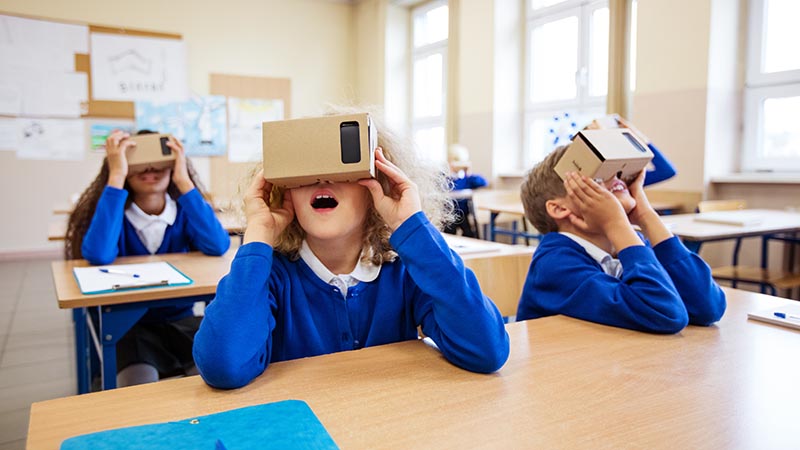
Immersive Classroom Lessons
From chalkboards, to projectors, to whiteboards, and all the methods in between to engage a classroom. So how about the possibility of creating immersive classroom experiences? Have students wrapped up in a headset and become completely focused inside a new world.
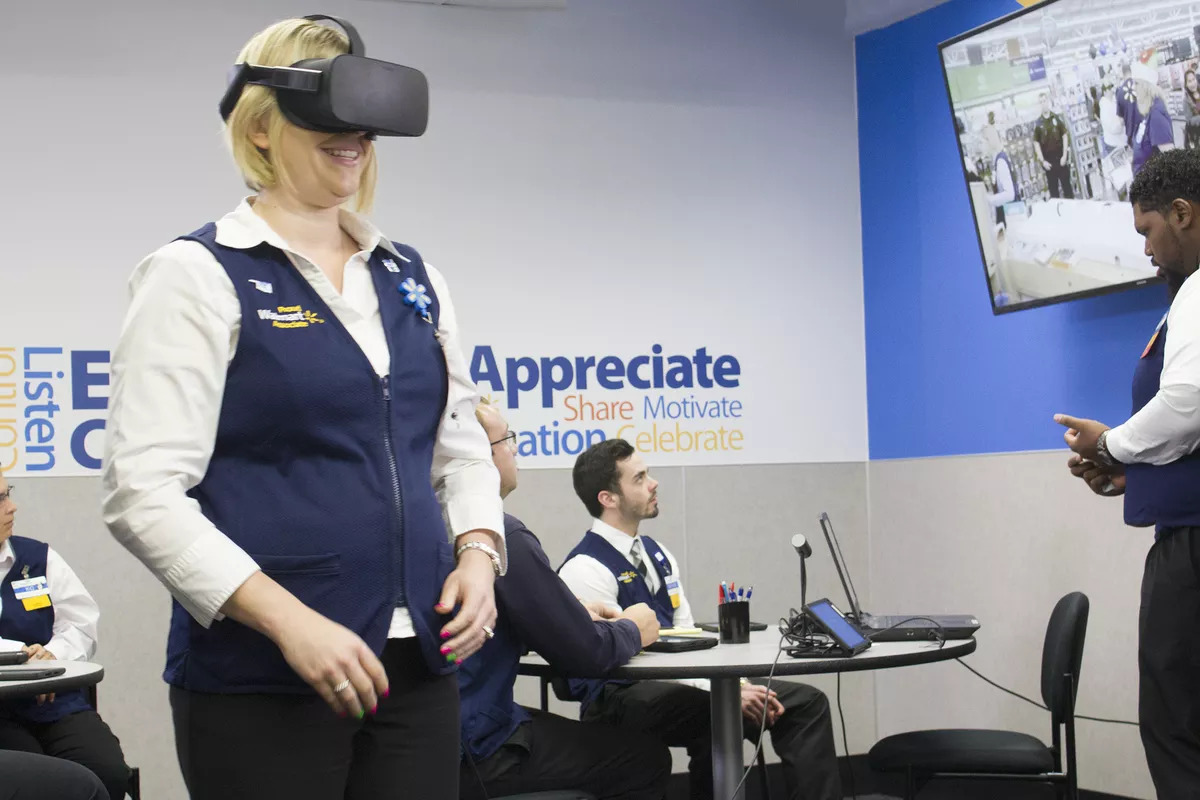
Company Training
Employees’ eyes glazing over at the speaker up front? Or tired of being that speaker delivering the same speech over and over again? Set it up in a VR world! And train groups of employees effectively and efficiently.
Group Real Estate and Architectural Walkthroughs
Pictures don’t always do a home or a building justice. Do clients ask to see the place in person? Or have plenty of questions about specific details that a picture can’t convey? Are you losing clients that aren’t able to physically scout out a location? Or does scheduling become a complicated matrix. Use VR to conduct real estate walkthroughs, it’s as if your clients are in the space itself.
How to Set Up Multiple Headsets in Perfect Sync
The following tutorial will make syncing VR headsets and deploying in the most demanding situations a calm challenge.
Setting up and testing prior to showing up at the event, venue or meeting can seem a bit repetitive, but once done properly you’ll rarely break a sweat during on-location deployment. After the initial set up, the system becomes a turnkey solution.
Preparing Your Headsets
Firstly, your headsets need the latest software updates and wiped of any unwanted apps. The easiest way to do this is a factory reset.
Press and hold the volume down button and the power button for a couple of seconds. When the root menu appears on the headset, select factory reset.
Follow the normal setup instructions after the reset and pairing with the Oculus companion app to pull in the latest software updates. Proceed to the device settings in the app menu to turn off automatic updates in case of any complications during an event.
Next, go to the App Store and search for "Expo" and install the Expo app on your devices.
If the app does not show up in the store on your device, you can contact us for a standalone version to side-load directly on your devices.
Once you get the app installed, login to your Expo account using the 6-digit pincode available on your Expo Dashboard on your computer or smartphone.
Network Setup
To guarantee a reliable network, it is highly recommended to set up a private wireless network using one or more routers you bring to the event.
Plug in a standalone WiFi router and set it up to the following specifications:
- Enable 5Ghz wireless (if available)
- No guest network (devices need to be discoverable over LAN)
- Multicast enabled (usually enabled by default on modern routers)
- High-speed internet connection(only required during first set up)
We also recommend downloading all the app data in advance, because the internet connection may not be reliable.
After downloading the content, only the local WiFi network you setup is required to run the Cinema Remote app since all the video files are downloaded during the initial setup.
To connect all headsets to the WiFi network go to Settings → WiFi and select the corresponding network.
Downloading Content for Offline Sync
Download and launch the Cinema Remote App on your tablet, then enter the same 6-digit code that you logged into your headsets with. You can find on the top right corner of the Expo Dashboard.
You should see the first headset pop up in the Remote app under 'Devices'. Rename it as you desire and proceed with the next headset until all headsets have been connected.
We recommend physically labeling the headsets the same as the name given in the Remote app.
The green light indicates that the device is connected. It will go red when the device goes into sleep mode. Wake it from sleep mode to reconnect again and it will be ready to receive commands from the remote app.
- Green dot is ready
- Red dot is disconnected
- Blue dot is syncing
- White animated dot is downloading/loading
- Play/pause icon indicates playback status on the device
There are two options to get the videos downloaded on all the devices (including your tablet).
- Send the download command through the remote app and all devices will start downloading the videos one after another. When downloading using the Remote app, the tablet device will also download the app content locally
- Download all the videos to one device, then copy the app content folder from that device and side-load all content to the other headsets. We will be creating an in-depth tutorial for this. Contact us if you need additional help with this.
Once downloaded/side-loaded, the Remote can be run on offline mode by simply logging in with the remember me function enabled.
An internet connection is no longer required, and you can simply use your local WiFi router moving forward.
Test All Headsets at Once
We recommend using the always-on power setting for easy testing as well as during the event. It won’t ask you to re-sync the controller every time a user takes the headset off. This makes controlling large groups a lot easier. The battery does drain a lot faster but a fully charged headset should get 2-3 hours of video playback before a recharge.
- Ensure all devices are connected to the same Wi-Fi network
- Turn on always-on power setting
- Launch VR app on all headsets
- Launch Remote app on a tablet
- Verify that all devices are successfully connected to the Remote app.
- Pick one of your prepared videos and hit Start
- Verify that all connected headsets correctly loaded the video
- Press Play to start playback on all devices simultaneously.
Managing Headsets
Now that the videos are in sync and are controlled from the Remote app, check out the device monitoring features that are available in the app.
Use the video viewer on top of the Remote app interface to scroll through the different video feeds in real-time to observe what users are seeing through their headsets. This helps monitor the viewers. All video player controls are available and once used, all of the apps re-sync on that command.
Setting up On Location
With all the above procedures, setting up at the event location is the easy part. It’ll be a matter of minutes to have your VR cinema up and running.
- Power on the router (s) (no internet connection required)
- Switch on Operator app and connect to the WiFi network
- Turn on the headsets and put them in always-on mode if needed
- Connect them to the same WiFi network as Remote
- Fire up the Expo app on the headsets in consecutive order
- Confirm the connection in the Cinema Remote app
- Play video in sync to confirm correct setup
Try it For Yourself!
VR cinema for large groups of users can be a seamless experience. With Cinema mode, users become a part of a synchronized cinema. Control and monitor whilst eliminating errors with Expo. Sign up for an Expo demo today and try it out!

